How to Set Up a Jellyfin Home Media Server (2026)
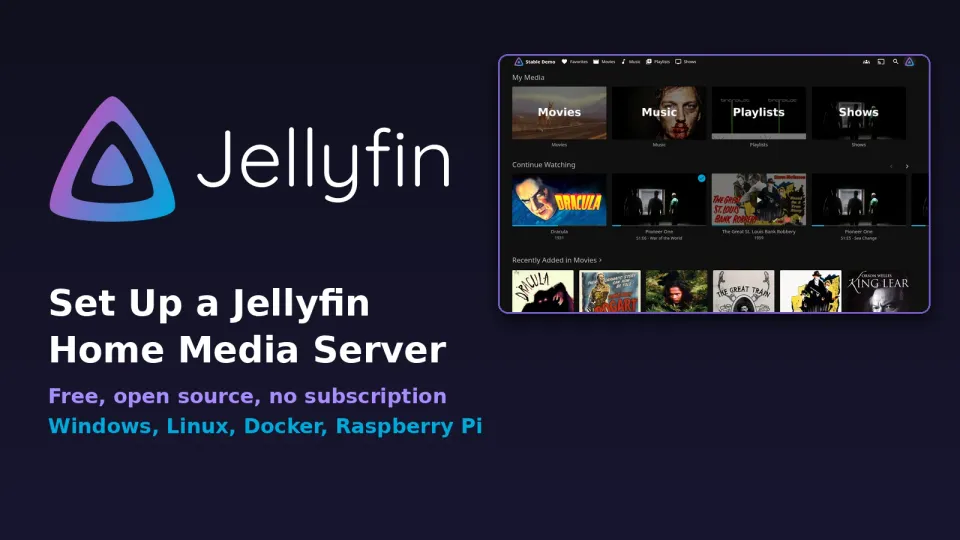
A free, open source home media server with no subscription. Here's how to install Jellyfin 12, organise your library, turn on GPU transcoding and watch away from home safely.
Updated 31 October 2026. Checked against the Jellyfin docs, the Jellyfin 12.4 release notes and Plex's current pricing page today.
Short answer: install Jellyfin on a PC, mini PC, NAS or Raspberry Pi that stays on, point it at your movie and TV folders, and open http://your-server-ip:8096 on any device in the house. It's free and open source, there's no account to sign up for and no paid tier, and the setup takes about as long as it takes to copy your files over.
I like Jellyfin because nothing about it phones home or asks for a subscription later. The trade-off is that you do a little more of the work yourself, mostly around naming your files properly and sorting out remote access. Both are easy once you know the rules, so that's what most of this guide is about.
Jump to:
- What you need
- Step 1: Install Jellyfin
- Step 2: Run the setup wizard
- Step 3: Name and organise your media
- Step 4: Turn on hardware acceleration
- Step 5: Install the apps
- Step 6: Watch away from home safely
- Step 7: Keep it updated
- Jellyfin vs Plex (table)
- FAQ
What you need
Not much. Jellyfin's own hardware guidance boils down to a few points:
- A machine that's always on. An old desktop works, so does a small mini PC or a NAS that supports Docker.
- A CPU with a decent built-in GPU if you want smooth transcoding. Jellyfin's docs name the Intel Core i5-11400, Pentium Gold G7400, Intel N100 and Apple M-series chips as good picks. They don't recommend AMD integrated graphics for this job.
- An SSD for the server itself. The docs suggest around 100GB of SSD space for the system, metadata and cache. Your actual films and shows can sit on big hard drives. If you're unsure which kind of drive to buy, my NVMe vs SATA SSD breakdown covers the differences.
- Wired networking. Gigabit Ethernet for the server, and at least 20 Mbps of upload speed if you want to stream outside the house.
A Raspberry Pi can run Jellyfin fine for direct playback, but Jellyfin has dropped support for hardware acceleration on the Pi, so it struggles if it has to convert video on the fly. If your devices can play your files as they are, it's a cheap way in.
Step 1: Install Jellyfin
The current stable release is Jellyfin 12.4, out on 26 October 2026. Pick whichever install route matches your machine.
Windows: download the installer from the official downloads page, run it, and let it start the server. On Windows and macOS, install it natively rather than in Docker. Jellyfin doesn't support Docker on those two systems, and hardware transcoding won't work there.
Debian, Ubuntu, Linux Mint or Raspberry Pi OS: Jellyfin has an install script. Download it, check its checksum, then run it:
curl -s https://repo.jellyfin.org/install-debuntu.sh -O
curl -s https://repo.jellyfin.org/install-debuntu.sh.sha256sum -O
sha256sum -c install-debuntu.sh.sha256sum
sudo bash install-debuntu.sh
Only run the last line if the checksum line says OK. One thing to know: Jellyfin 12 no longer ships packages for Debian 11 (Bullseye) or Ubuntu 20.04 (Focal), so you need something newer.
Docker (Linux, NAS boxes): use the official jellyfin/jellyfin image. A basic run command looks like this, with your own paths swapped in:
docker run -d --name jellyfin \
  -p 8096:8096/tcp -p 7359:7359/udp \
  -v /srv/jellyfin/config:/config \
  -v /srv/jellyfin/cache:/cache \
  -v /path/to/media:/media \
  --restart=unless-stopped \
  jellyfin/jellyfin
If you want DLNA so older smart TVs can find the server on their own, run the container with host networking instead of mapping ports. If you've already got a Pi running other home services, my Pi-hole and WireGuard on a Raspberry Pi guide shows how I'd lay out a small always-on box.
Step 2: Run the setup wizard
Open a browser on any device on the same network and go to http://SERVER-IP:8096. Swap in the server's local IP address, which you can find in your router's device list. The first time, Jellyfin walks you through a short wizard:
- Pick your language.
- Create the admin user and password. Make this a proper password, since this account controls everything.
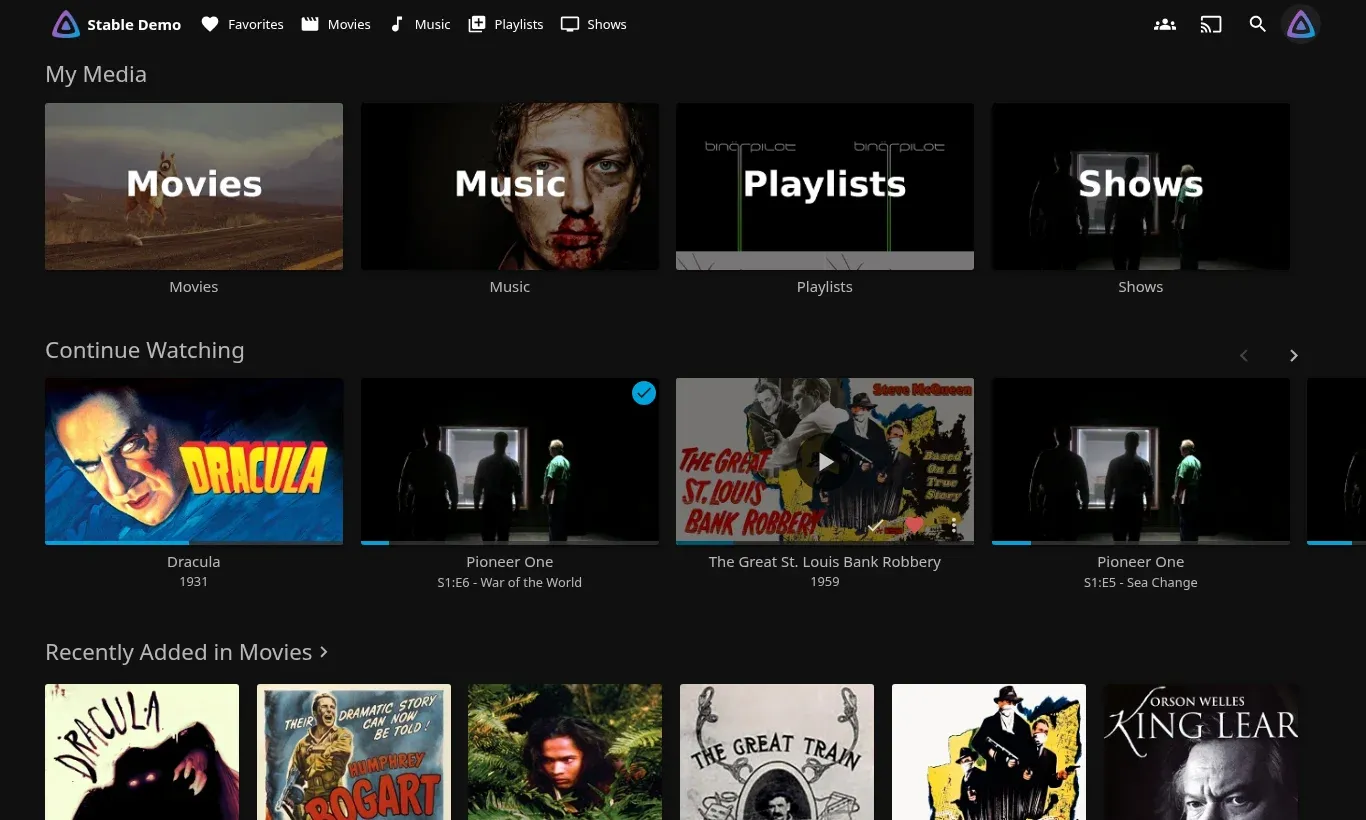
- Add your media libraries. Choose the content type (Movies, Shows, Music and so on), then add the folder that holds those files.
- Set your preferred metadata language and country so posters and descriptions come in the right language.
- Leave "Allow remote connections" on for now. We'll deal with doing that safely in Step 6.
When you finish, Jellyfin scans your folders and pulls in artwork. A big library takes a while the first time, so let it run.
Step 3: Name and organise your media
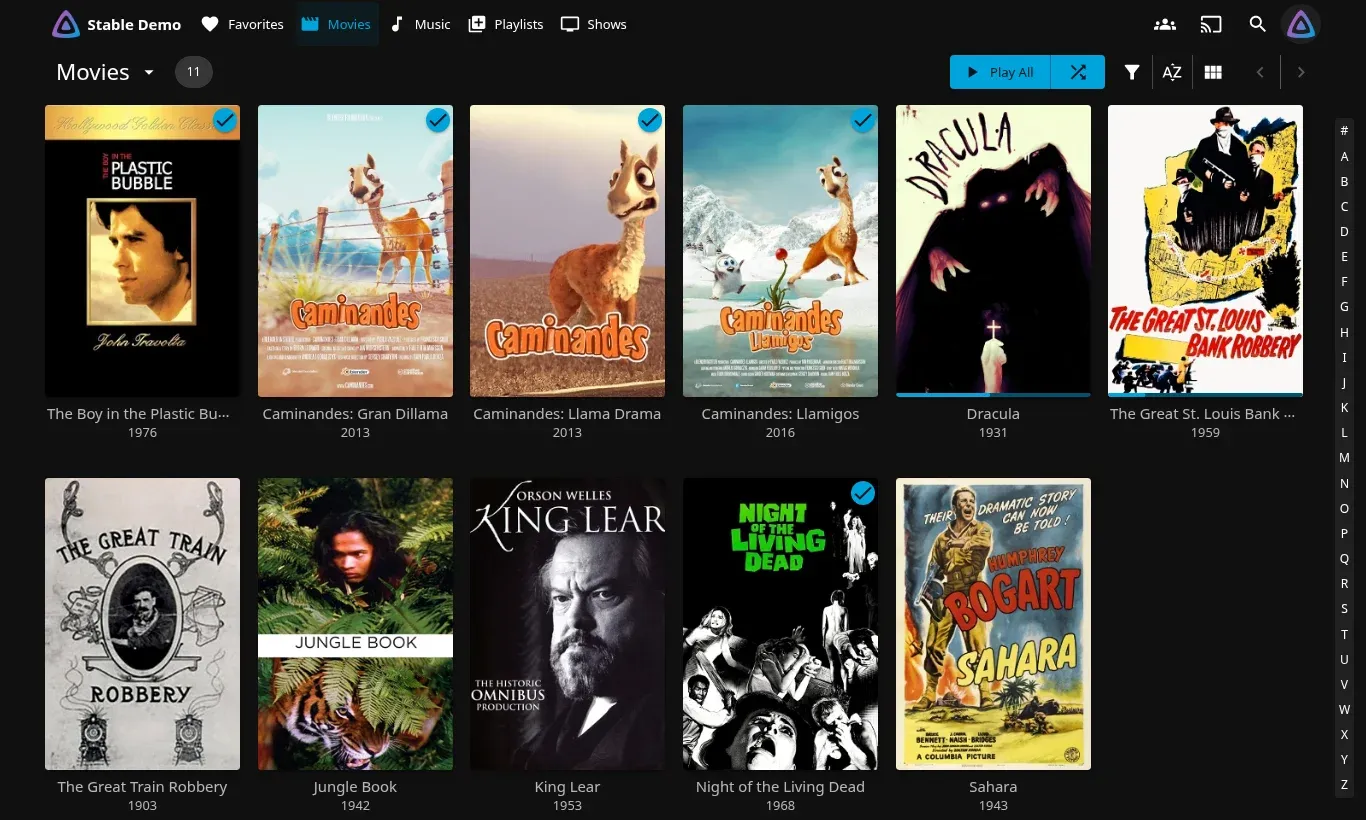
This is the step that decides whether Jellyfin looks great or looks like a mess of wrong posters. It matches files to online databases by folder and file name, so follow its naming format.
Movies each get their own folder, named with the title and year:
Movies/
  Night of the Living Dead (1968)/
    Night of the Living Dead (1968).mkv
If a film keeps matching the wrong version, add the IMDb ID to the folder name, like Movie Name (year) [imdbid-tt0063350]. Jellyfin will use it to lock in the right match.
TV shows go show folder, then season folder, then episodes with season and episode numbers:
Shows/
  Series Name (2019)/
    Season 01/
      Series Name S01E01.mkv
      Series Name S01E02.mkv
Keep these characters out of your file and folder names, because they cause problems across systems: < > : " / \ | ? *. After renaming, open the library's menu and run a scan so Jellyfin picks up the changes.
Step 4: Turn on hardware acceleration
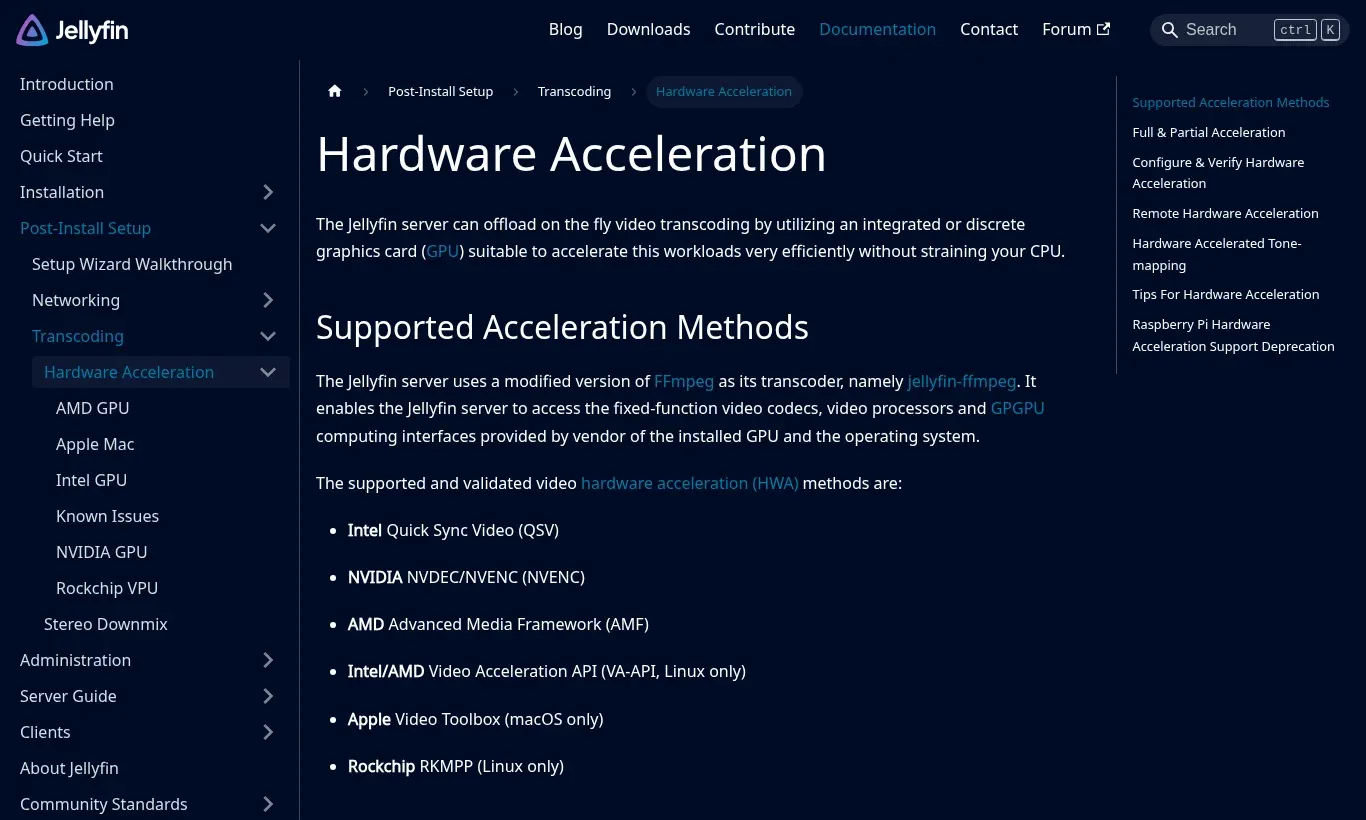
When a phone or TV can't play a file as-is (a codec it doesn't support, or a bitrate too high for a weak Wi-Fi link), Jellyfin converts it on the fly. That's called transcoding, and doing it on the CPU alone is slow and hot. Letting the GPU do it is far better.
Go to Dashboard, then Playback, then Transcoding, and pick the method for your hardware:
- Intel Quick Sync (QSV) for most Intel CPUs with built-in graphics
- NVIDIA NVENC for GeForce and other NVIDIA cards
- AMD AMF for AMD Radeon graphics
- VA-API for Intel and AMD on Linux
- VideoToolbox on Macs
- RKMPP for Rockchip boards on Linux
Tick the codecs your GPU can decode, save, and play something that needs transcoding. On Docker you also have to pass the GPU into the container, and the hardware acceleration docs have the exact device lines for each vendor.
Step 5: Install the apps
You can watch in any browser, but the apps handle more formats without transcoding. Jellyfin has official clients for:
- Windows, macOS and Linux (Jellyfin Media Player)
- Android and iOS
- Android TV and Fire TV
- Roku, LG webOS and Samsung Tizen TVs
- Xbox
- Kodi, through the JellyCon add-on
The full list with download links is on the Jellyfin clients page. Every app asks for the server address first. On your home network that's the same http://SERVER-IP:8096 you used in Step 2, and many apps will find the server by themselves.
While you're in the dashboard, make a separate, non-admin user for each person in the house. It keeps watch history apart and means nobody else can change server settings.
Step 6: Watch away from home safely
Jellyfin uses port 8096 for HTTP, 8920 for HTTPS and 7359 (UDP) for finding servers on the local network. The tempting move is to forward 8096 on your router and call it done. Jellyfin's own networking docs advise against that, and so would I. It puts your server straight on the internet with no encryption.
There are two better ways:
- A VPN. This is what I'd do for a family setup. Your phone joins your home network over the VPN and the server never faces the public internet. Tailscale is the least effort, and WireGuard gives you full control. I compared them in Tailscale vs WireGuard.
- A reverse proxy with HTTPS, such as Caddy, Nginx or Traefik, in front of Jellyfin on your own domain. It's better if you want to share with friends who won't install a VPN, but you're responsible for keeping it patched.
Either way, remember that your home upload speed is the cap for remote streams. If it's low, set a lower streaming bitrate in the app so playback doesn't keep buffering.
Step 7: Keep it updated
If you're coming from an older version, Jellyfin 12 was a big jump when it landed on 8 September 2026. Before upgrading:
- Back up your Jellyfin data folder. That's your users, watch history and settings.
- Remove third-party plugins before the upgrade. Old ones can break on the new version.
- Direct upgrades are supported from 10.10.7 and 10.11.x.
- After upgrading, run a full library scan.
Two changes catch people out. Subtitle settings are now set per library rather than globally, and the old /emby addresses have been removed, so very old apps that relied on them will stop connecting. From there, the 12.x point releases (12.4 is the latest) install like any normal update, through the installer on Windows or sudo apt update && sudo apt upgrade on Debian and Ubuntu. On Docker, pull the new image and recreate the container.
Jellyfin vs Plex
Plex is the name most people know, so here's how the two compare on the things that matter for a home server. Plex prices are its regular US prices. The rupee figures are rough conversions, and Plex's local pricing may differ.
| Jellyfin | Plex | |
|---|---|---|
| Price | Free, no paid tier | Free for home streaming |
| Streaming outside the house | Free (set up your own VPN or proxy) | Needs Remote Watch Pass ($2.99/month or $29.99/year, about ₹285 or ₹2,860) or Plex Pass |
| Account needed | No, users live on your server | Yes, a Plex account |
| Source code | Open source | Closed source |
| Hardware transcoding | Free | Needs Plex Pass |
| Remote access setup | You do it yourself | Built in, mostly automatic |
If you want something you set up once and never pay for, go with Jellyfin. If you'd rather pay to have remote access just work, Plex is easier for that one part.
Running Jellyfin on Debian or Ubuntu? Also work through the APT CVE-2026-109518 check and patch so the host's package manager is not the weak link.
Related guides: two more from me that pair well with this one: setting up AdGuard Home and hosting a Minecraft server behind CGNAT.
FAQ
Running Jellyfin on a dedicated box? If you're still picking the hypervisor, start with Proxmox vs Hyper-V vs VirtualBox for a home lab — Proxmox is usually the cleanest fit next to a media server.
Is Jellyfin really free?
Yes. It's open source, run by volunteers, and has no premium tier, no ads and no locked features. Hardware transcoding and remote streaming cost nothing.
What's the default Jellyfin port?
8096 for HTTP. HTTPS uses 8920, and UDP port 7359 is used for finding servers on your local network.
Can I run Jellyfin on a Raspberry Pi?
Yes, through the Debian install script on Raspberry Pi OS or through Docker. Jellyfin no longer supports hardware acceleration on the Pi, though, so it works best when your devices can play files directly without transcoding.
Why are my movies showing the wrong poster?
Almost always a naming problem. Put each movie in its own folder named Title (year), add [imdbid-tt...] if it still matches wrong, then rescan the library.
Should I run Jellyfin in Docker on Windows?
No. Jellyfin doesn't support Docker on Windows or macOS, and hardware transcoding won't work there. Use the native installer instead.
Is it safe to open port 8096 on my router?
It isn't recommended. Use a VPN like Tailscale or WireGuard, or put a reverse proxy with HTTPS in front of the server.
Jellyfin logo and screenshots: the Jellyfin Project. Sources: Jellyfin documentation, Jellyfin releases on GitHub, Plex plans.
Comments ()